Secure Printers for Printer Screen Release
To enable users to authenticate and release documents, devices must be secured.
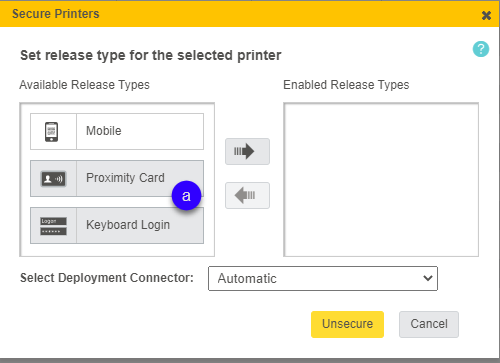
- In the Secure Printers for Printer Screen Release section of the Setup Guide, click the Secure button. This opens the Secure Printers dialog box.
- Review selected printers.
- Click on the Secure Printers button.
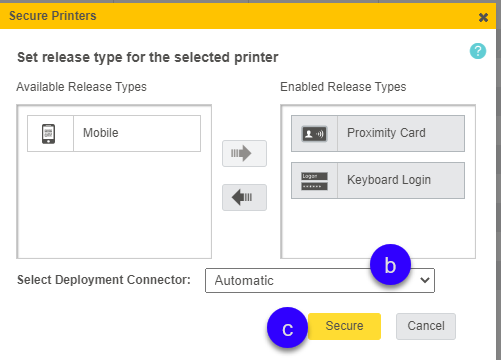
- In the Available Release Type(s) list, select the desired release method using the right arrow button. To remove release types, select them from the Enabled Release Types and use the left arrow button to move them back to the Available Release Types list.
b. In the Select Deployment Connector, the default option is Automatic. You can choose whether to secure the printer using the Device Scout (Local Connector) or the Device Discovery and Deployment Utility (Cloud Connector).
Note: If Automatic is selected and there are both local device scouts and cloud connectors, a local device scout will be used. If you have cloud enabled devices and you wish to use the DDU (cloud connector) to secure the device, you will need to selec the Cloud Connector.
c. Click the Secure button and then click OK to complete the process.
Note: The release types available in the Available Release Types column depends on:
The ability of the printer to support the release type.
The release type you select in the Select Secure option step. To select new release options, go back to Select Secure option.
-
The Status of the selected printer(s) will be updated to Secured if one or more release types are enabled.
-
Exit the dialog box.
Why can't I secure my printers?
The Secure button may be disabled for any of the following reasons:
- One or both of the Scouts have not yet been installed. Both the Device Scout and the Print Scout must be installed before you can secure printers.
- The Scouts installed are not Secure Print capable. To check whether your Scouts are Secure Print enabled:
- In the screen, make sure that the Secure Print Enabled column is set to "Yes".
- In the Secure > Print Scout screen, ensure that the Secure Print Enabled column is set to "Yes".