Uniprint Scout Registration
To register subsequent Uniprint Scouts, simply copy the downloaded Uniprint Scout installer package on the Uniprint servers and then run the install as usual. Scouts are then automatically registered to the Beacon server.
Note: As of October 2017, Scout registration (both Device Scout and Print Scout) has been automated so that customers no longer need to enter a unique registration code for their account at the time of installation. Each account now has a unique Device Scout and Print Scout that contains registration information deployed at the time of installation. This change improves both user experience and security.
Uniprint Scout Registration (if using Proxy server)
If using a proxy server, you will need to create the deployment settings file (called InstallConfig.ini) from the machine where you installed the first Uniprint Scout to register subsequent Scouts. The InstallConfig.ini file contains Uniprint Scout configuration settings (e.g. proxy server information) and customer registration information. This enables registration of Uniprint Scouts to Beacon.
There are two ways to register subsequent Uniprint Scouts if using proxy server:
- Create Deployment Settings file and copy it to the same directory as the Uniprint Scout installer.
- On the machine where you installed the first Uniprint Scout, create the deployment settings file.
- In the Uniprint Scout Configuration tool, from the File menu, select Create Deployment Settings file. The deployment settings file will be created in C:\ProgramData\PharosSystems\UniprintScout\Deployment.
- Copy the deployment settings file (InstallConfig.ini) in the same directory as the Uniprint Scout installer. The installer will use the deployment settings to automatically register the Scout with Beacon.
- Install the Uniprint Scout on your target Uniprint servers. Follow on-screen instructions to complete the installation. The installer will use the deployment settings to automatically register the Scout with Beacon.
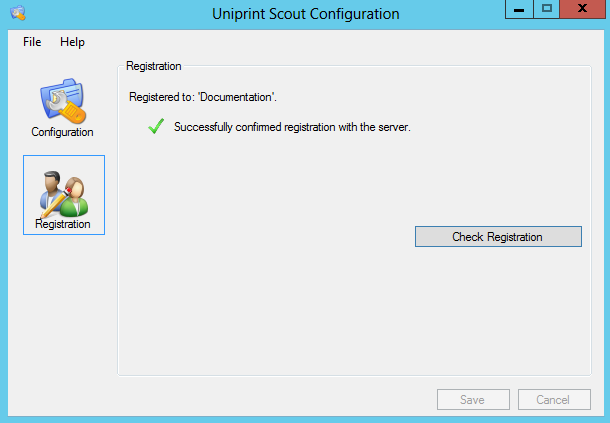
- After successful installation, the Uniprint Scout Configuration application will launch confirming that the scout has been registered.
- On the machine where you installed the first Uniprint Scout, create the deployment settings file.
- Use the Uniprint Scout Configuration tool. The following steps assume that you have already installed Uniprint Scout on your target Uniprint servers.
- Create Deployment Settings file and copy it to the same directory as the Uniprint Scout installer.
- On the machine where you installed the first Uniprint Scout, create the deployment settings file.
- In the Uniprint Scout Configuration tool, from the File menu, select Create Deployment Settings file. The deployment settings file will be created in C:\ProgramData\PharosSystems\UniprintScout\Deployment.
- On the machine where you installed the first Uniprint Scout, create the deployment settings file.
- On the machines where you subsequently installed Uniprint Scouts, launch the Uniprint Scout Configuration tool. open the Start screen and then select Uniprint Scout Configuration.
- In the Uniprint Scout Configuration Tool, manually select the InstallConfig.ini file, and import the file.
- From the File menu, choose Select Deployment Settings file.
- Browse to the location of the settings file (InstallConfig.ini).
- Click Check Registration.
- Create Deployment Settings file and copy it to the same directory as the Uniprint Scout installer.