macOS Direct Print v1.0
The Print Scout component of Pharos Cloud has been updated to support Direct Print. The Print Scout installs the Pharos Print desktop app app, which is a desktop application used to manage direct printers (e.g. add or remove direct printers).
macOS Direct Print User Experience
- IT admins install Print Scout on macOS machines. The Print Scout installs the Pharos Print desktop app .
- The user launches the Pharos Print desktop app. First time users will be asked to log in with their company username and password.
- Using the Pharos Print desktop app, the user adds one or more printers to use with Direct Print
- The user sends a print job to any of the direct printers added.
- The user collects the documents from the printer.
Adding a Printer Using the Pharos Print desktop app
1. Launch the app by clicking the Pharos Print desktop app icon from the menu bar.

2. If it's your first time to use the app, you will be asked to enter your company credentials. Click Login to continue. When successfully authenticated, you will see the Authenticated successfully message on your browser.
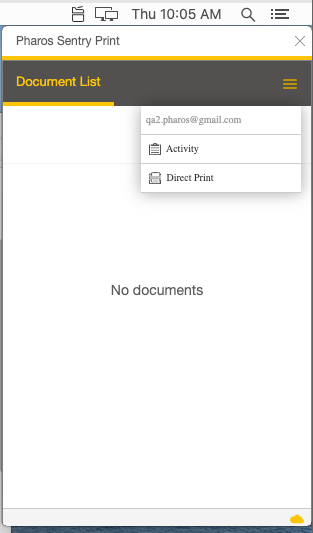
3. In the Pharos Print desktop app, click the side menu and then select Direct Print.
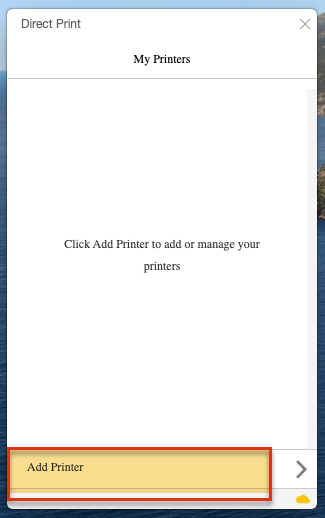
4. Select Add Printer.
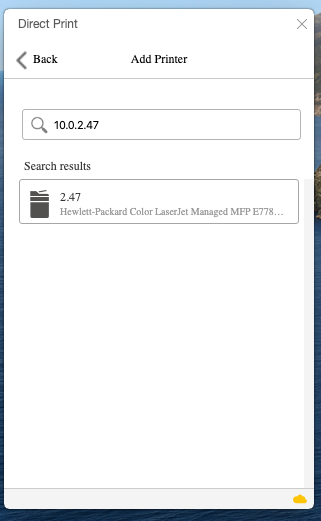
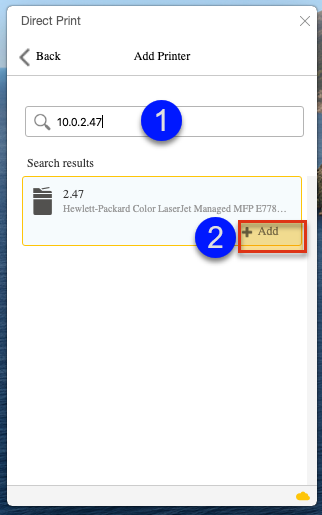
5. Search for the printer by typing any of the following printer information Direct Printer Name, IP address, or hostname.
6. Click the Add button to add the selected printer. You will see the message Printer has been saved successfully.
7. Begin Printing.
Direct Printing to macOS
- Open the document you want to print.
- Print the document (File > Print) and select the direct printer you have added.
- Collect your document.