How to scan documents
Topics in this document:
Scanning documents
- Walk up to a secure printer and then login.
- Place the document to be scanned in the automatic document feeder (ADF) or the scanner glass.
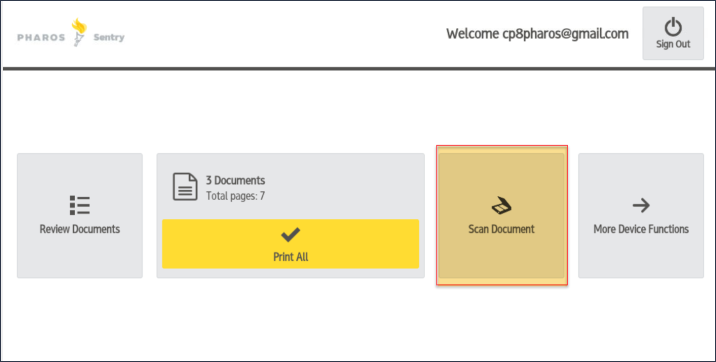
- In the menu that appears, select Scan Document.
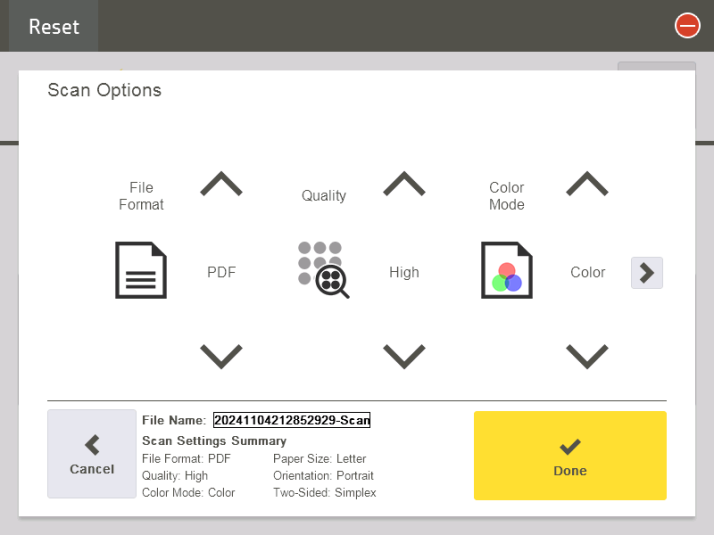
4. The Scan Options screen opens. Change the scan options if the default values are not suitable. Click the scroll button until the option you want appears.
5. In the Scan Destinations, select the destination where you want to send your scanned document. You can select from the following options:
- Network Folder
- OneDrive
- SharePoint
Scan to Email
a. In the Scan Destinations screen, select Email.

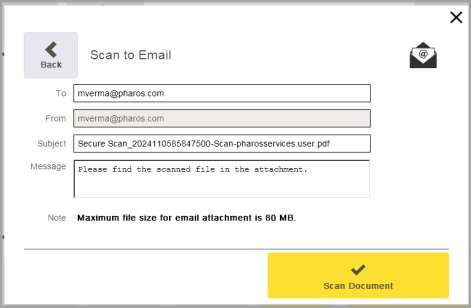
b. The Scan to Email screen appears. You can change the email subject, the message, and the email address or fax destination if you wish.
Note: The "From" field is not editable, meaning you cannot change it. However, you can send scanned documents to another user's email address by modifying the email address in the "To" field.
Note: To send a scanned document to a fax destination, just input the fax number of the recipient (in the To field) where you wish to send the document.
c. Proceed to Step 7 to finish the scan operation.
Scan to OneDrive
- In the Scan Destinations screen, select OneDrive.
For sites with user-based authentication , follow these steps to grant Secure Scan access to your OneDrive folder.
- After selecting the Scan Destination, an Authorization Required dialog appears, prompting you to check your email for authorization.
- Open your email and click the Authorize button. Clicking the Authorize button will redirect you to the Microsoft SSO page. Enter your Microsoft credentials.
- Return to the printer and select OneDrive from the list of Scan Destinations.
Note: Once you grant the Secure Scan app permission to access your Office 365 OneDrive folder, you won’t need to re-authenticate as long as you use the app regularly. However, if you’re inactive for 90 days, the refresh token will expire, and you’ll need to re-authenticate to regain access to Secure Scan.
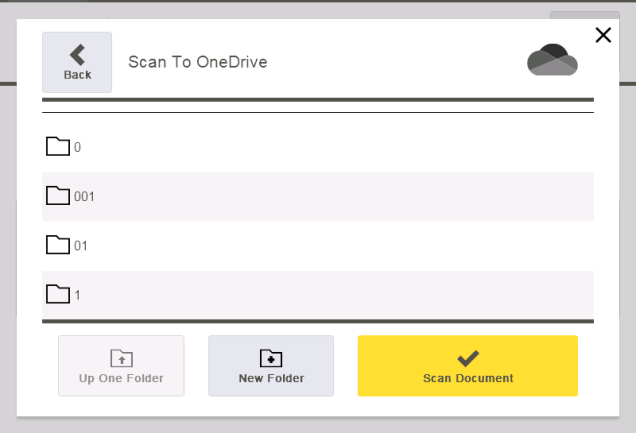
- A list of OneDrive folders appear. Select the folder where you want the scanned document to be uploaded.
- Proceed to Step 7 to start the scan operation.
Scan To SharePoint
a. In the Scan Destinations screen, select SharePoint.
b. Select the folder in which you want to deliver the scanned document.
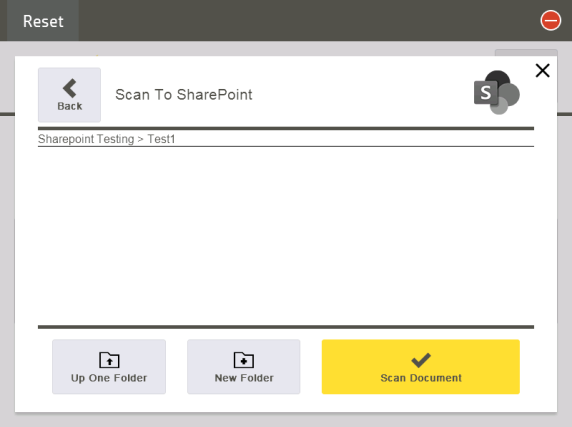
c. Proceed to Step 7 to start the scan operation.
Scan To Network Folder
- In the Scan Destinations screen, select Network Folder.
- Select the folder in which you want to save the scanned document.
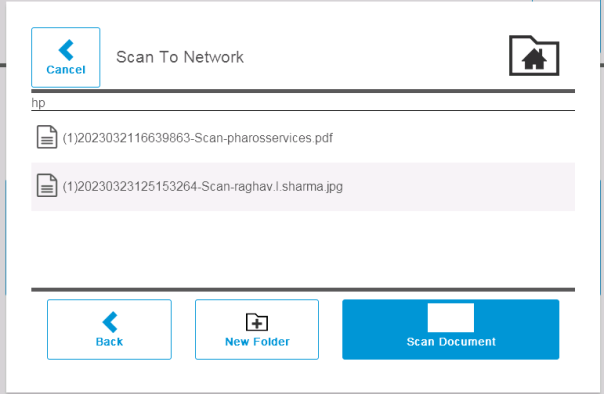
c. Proceed to Step 7 to start the scan operation.
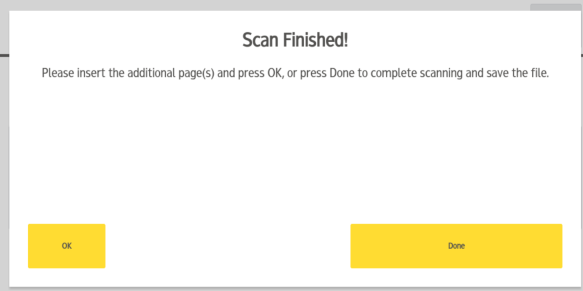
7. Click Scan Document to start the scan operation.
8. To scan another page, click OK from the following screen or click Done to send the scanned document to your preferred destination.
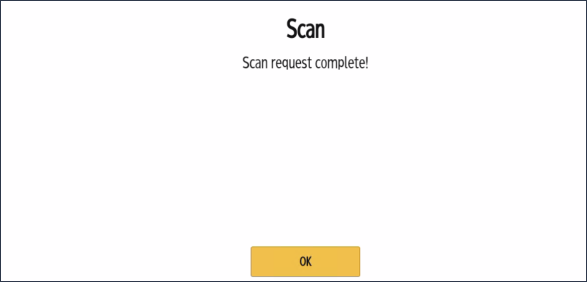
9. Check your selected scan destination for the scanned document.
Scan Errors
This section provides you with a list of the most common errors that you may likely encounter when scanning documents.
- SMTP is not configured, please contact administrator
The SMTP settings have not been configured. To set them up, navigate to the Secure Scan Settings section within the Secure > Settings page of the web console.
- Unable to complete the request due to network issues. Please try again later.
The network connection is either disconnected or is slow.
- Failed to get the folder from SharePoint. Unable to complete the request due to network issues. Please try again later.
The Secure Scan feature is not configured correctly. Check the Office 365 settings in the Secure Scan Settings (Secure > Settings screen) of the web console.
- Failed to get the folder from OneDrive. Unable to complete the request due to network issues. Please try again later.
The Secure Scan feature is not configured correctly. Check the Office 365 settings in the Secure Scan Settings (Secure > Settings screen) of the web console.
- Scan request was canceled as Auto paper size was not detected.
The Auto paper size feature is not supported by the printer. Clicking the OK button will redirect the user back to the Scan Option selection screen, where they can choose a different paper size. This applies to Ricoh printers only.
Related Topic: