How to print documents as a guest user
Open invitation email and upload documents to print
1. Check your Guest Print invitation email. This invite includes a link to the Secure Release Guest portal. It also includes instructions on how to use the Guest Print system.
2. Click the link in the email to launch the Secure Release Guest Portal.
3. Upload documents to print.
Note: Guest users can upload files with the following file formats: PDF, JPEG, BMP, PNG,TXT, and Microsoft Office docs (.doc, .docx, .xls, .xlxs, .ppt, .pptx) .
![]()
4. Click Print. You can also change the print finishing options (e.g. single-sided) before printing. Documents are transferred and stored securely in the cloud.

5. Optional: Click the Job List tab to view a list of uploaded print jobs. You can also delete jobs from this view.
![]()
6. Click Print. You can also change the print finishing options (e.g. single-sided) before printing. Documents are transferred and stored securely in the cloud.
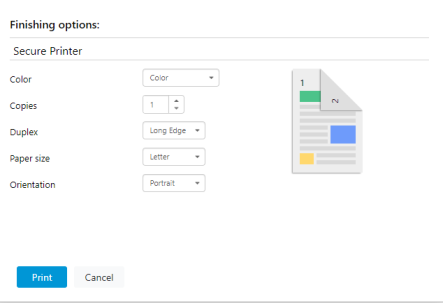
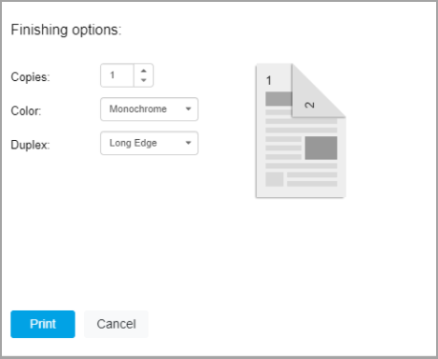
Note: Paper size and Orientation finishing options are not available for PDF and Microsoft Office documents.
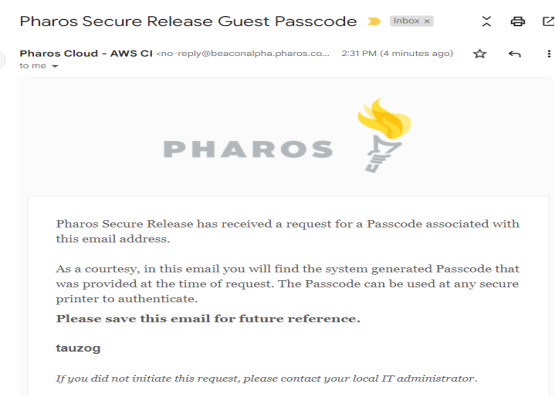
7. Check your email for Secure Release guest passcode. You will use this passcode to authenticate at the printer to release your documents.
Release documents
1. Walk up to a Secure Printer.
2. Authenticate at the printer using the passcode you received.
3. Release your documents.